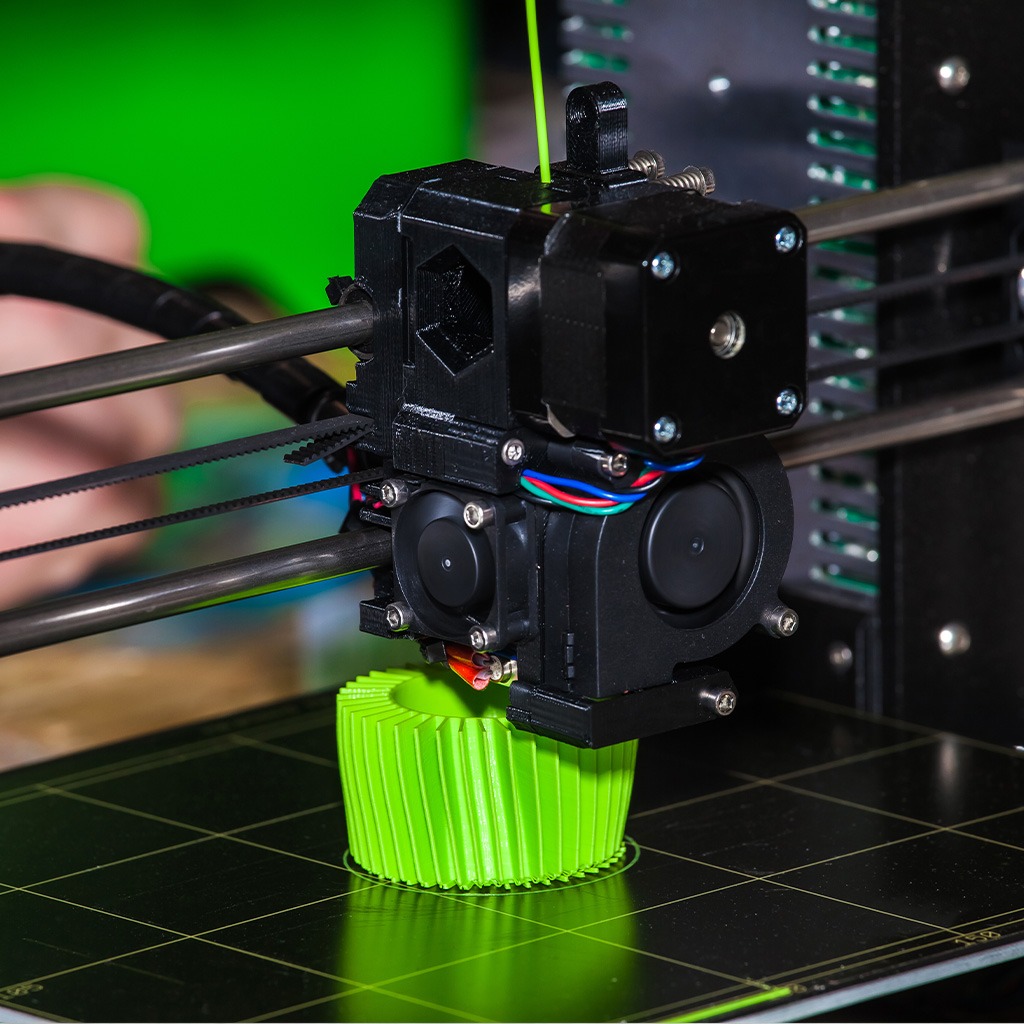
Properly calibrating your 3D printer is crucial for achieving high-quality prints, especially when switching between different types of filaments. Each type of filament has unique properties and may require specific adjustments in the printer settings. Below is a step-by-step guide to calibrating your 3D printer for different types of filaments.
Extruder Temperature
Each filament has an optimal extrusion temperature range. Here are some common examples:
- PLA: 180-220°C
- ABS: 220-250°C
- PETG: 220-250°C
- Nylon: 240-270°C
- TPU: 210-230°C
Step by step:
- Consult the manufacturer: Check the filament specifications for the recommended temperature range.
- Temperature test: Print a temperature tower, which is a model designed to test different temperatures in a single print. This will help you identify the best temperature for your specific filament.
Heated Bed Temperature
Some filaments require a heated bed to improve first-layer adhesion and reduce warping.
- PLA: 20-60°C
- ABS: 90-110°C
- PETG: 70-90°C
- Nylon: 70-100°C
- TPU: 30-60°C
Step by step:
- Set the bed temperature: Adjust the heated bed according to the filament manufacturer’s recommendations.
- Adhesion test: Print a small test piece to ensure the filament adheres well to the bed without warping.
Print Speed
Print speed affects the quality and accuracy of the prints. Different filaments may require different print speeds.
- PLA: 40-60 mm/s
- ABS: 40-60 mm/s
- PETG: 30-50 mm/s
- Nylon: 30-60 mm/s
- TPU: 20-30 mm/s
Step by step:
- Start slow: If unsure, start with a low speed and gradually increase until you find the best setting.
- Adjust according to print type: Detailed parts may require slower speeds, while large, simple parts can be printed faster.
First Layer Height
The first layer height is crucial for adhesion and overall print quality.
Step by step:
- Bed leveling: Ensure the bed is perfectly leveled.
- Initial height: Generally, an initial layer height of 0.2 mm works well for most filaments.
- Test and adjust: Print a first layer test and adjust the height if necessary. The first layer should be uniform and well-adhered.
Flow Rate Calibration
The flow rate determines how much filament is extruded and may need adjustments depending on the filament used.
Step by step:
- Print a calibration cube: Print a hollow cube and measure the perimeter dimensions.
- Adjust the flow rate: If the walls are thicker or thinner than expected, adjust the flow rate in your slicer settings and re-test until the dimensions are accurate.
Retraction
Retraction helps prevent oozing and stringing when the printer moves between different parts of the model.
Step by step:
- Set initial retraction: A good starting point is a retraction distance of 5 mm and a speed of 25 mm/s.
- Retraction test: Print a retraction test to see if there is stringing. Adjust the retraction distance and speed as needed to minimize stringing without causing clogs.
Additional Tips
- Filament Storage: Store your filaments in a dry, sealed place to avoid moisture absorption, especially with filaments like Nylon and TPU.
- Extruder Cleaning: Regularly clean the extruder to prevent clogs and ensure consistent extrusion.
- Documentation: Keep a record of the settings that work best for each type of filament. This will save you time and effort in the future.
Calibrating your 3D printer for different types of filaments may seem like a complicated task, but by following these steps, you can optimize your prints and achieve high-quality results. Experiment and adjust your settings as needed to find the perfect setup for each type of filament.
